
安装:
pip3 install allure-pytest
安装命令行工具:
brew install allure
1.生成命令
生成测试结果(.xml 文件)
allure-pytest 插件会生成 allure 结果文件(.xml 格式)。使用以下命令来运行 pytest 测试并生成报告数据:
pytest --alluredir=allure-results
--alluredir=allure-results:指定生成的 Allure 结果存放的目录。
生成 HTML 报告
运行测试后,可以使用 Allure 命令行工具生成 HTML 格式的测试报告:
allure serve allure-results
allure serve 会启动一个本地服务器,并自动打开浏览器显示生成的报告。
2.使用 allure 特性
allure-pytest 提供了一些装饰器和标记,可以帮助在报告中添加更多的细节。
2.1 添加用例描述
使用 @allure.title 和 @allure.description 来为测试用例添加标题和描述信息:
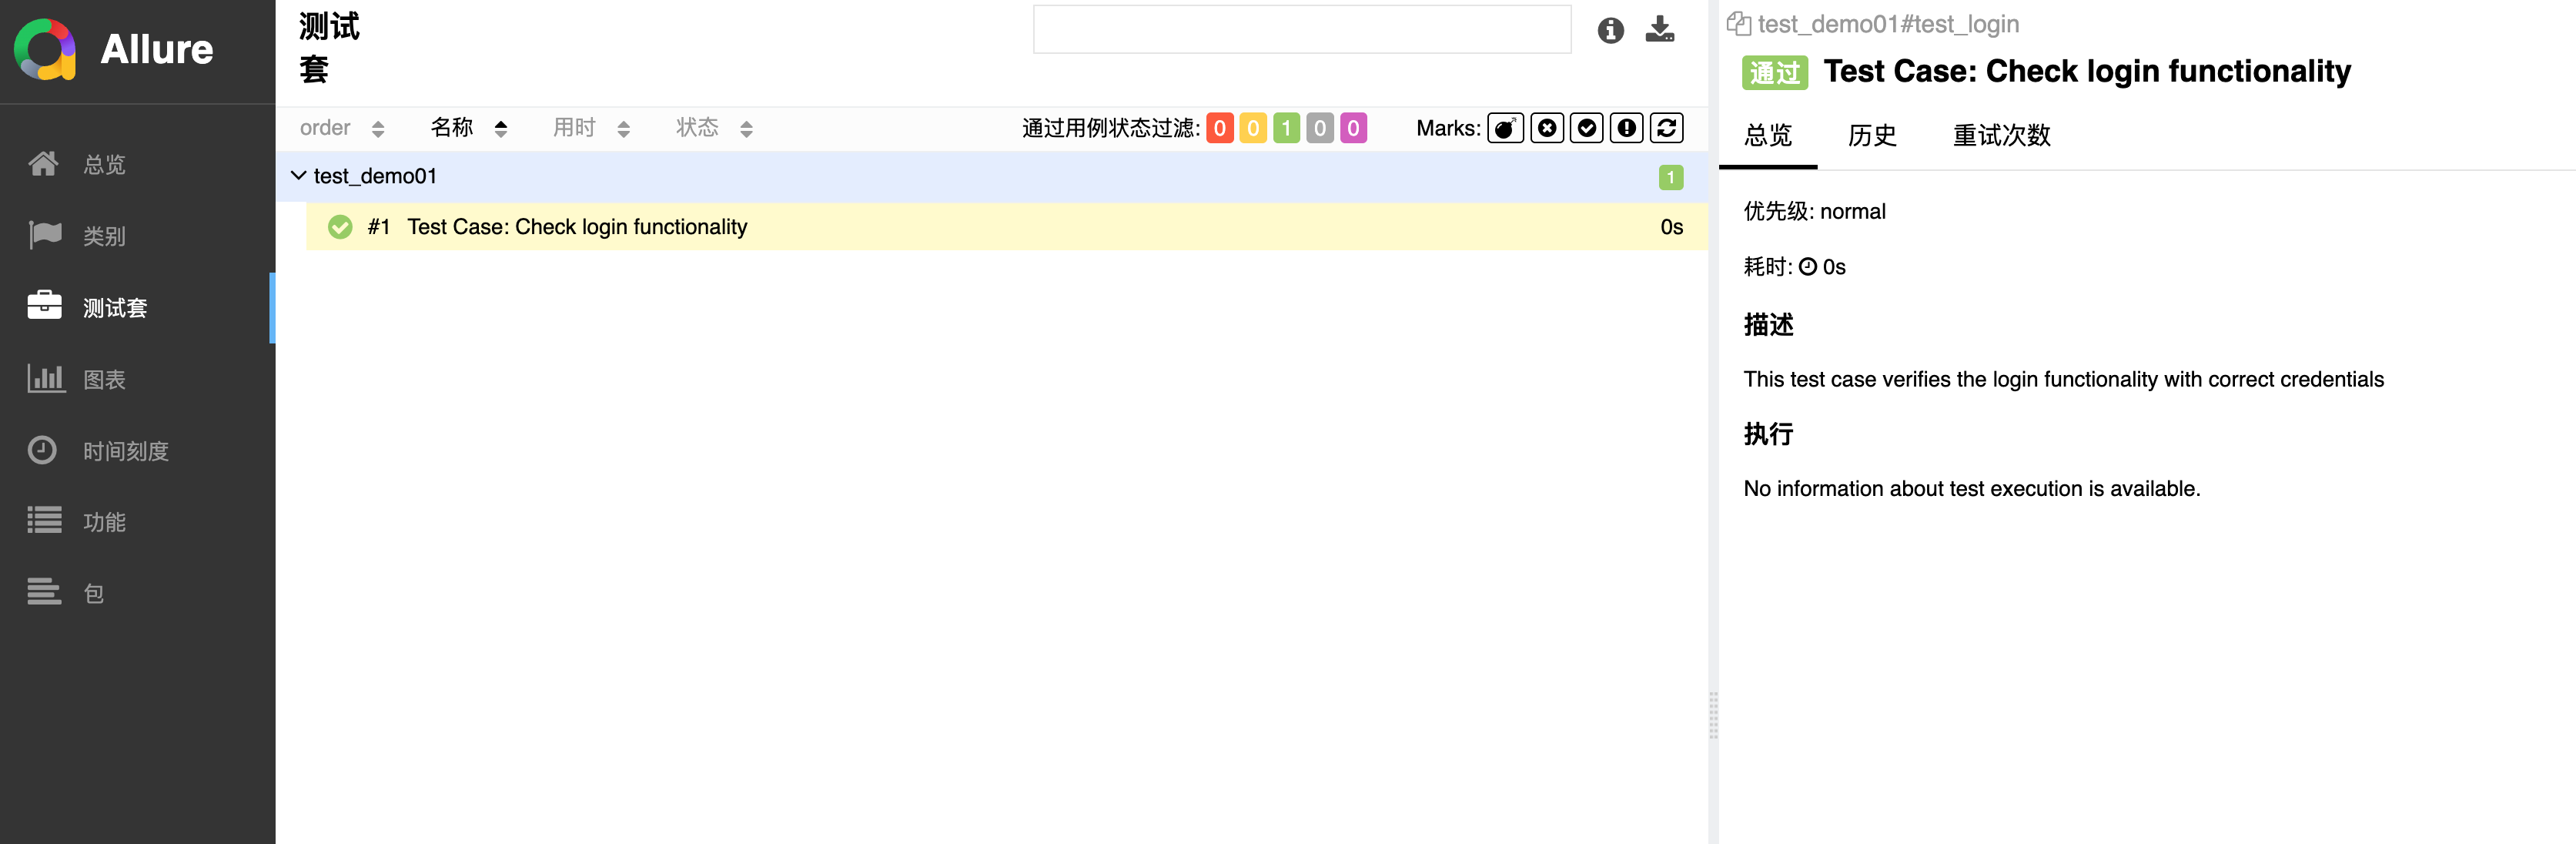
import allure

@allure.title("Test Case: Check login functionality")
@allure.description("This test case verifies the login functionality with correct credentials")
def test_login():
    assert True
2.2 添加测试步骤
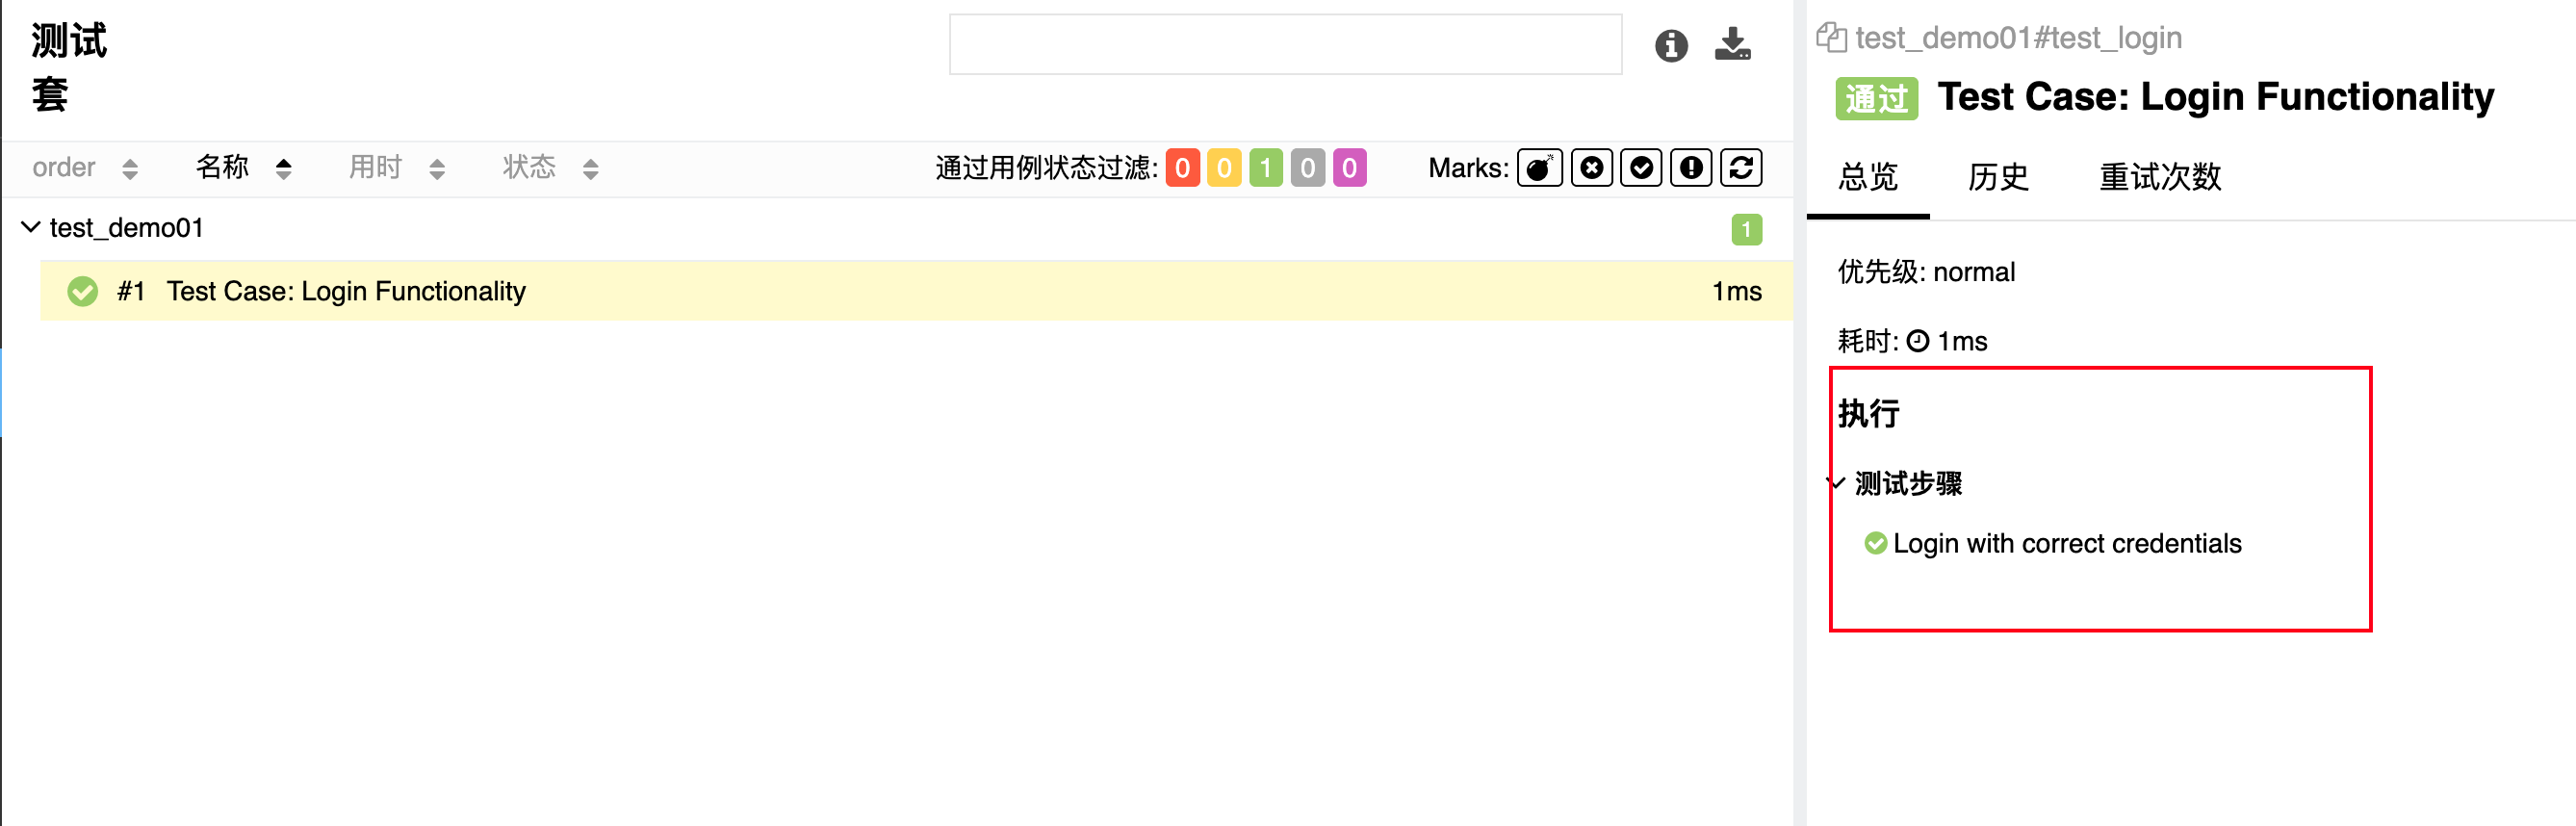
使用 @allure.step 来标记步骤信息,可以清晰地显示测试执行过程。
import pytest
import allure

def login(username, password):
    # Simulating login action
    assert username == "admin" and password == "password"

@allure.title("Test Case: Login Functionality")
def test_login():
    with allure.step("Login with correct credentials"):
        login("admin", "password")
2.3 标记失败的测试用例

使用 @allure.issue 来标记与测试用例相关的缺陷跟踪系统中的问题,方便报告中显示相关的 bug 链接。
import pytest
import allure

@allure.issue("https://github.com/your-repo/issues/123", "Bug description")
def test_with_issue():
    assert False
2.4 附件和截图
可以在测试中添加截图或其他文件作为附件,帮助更好地调试和分析失败的测试用例。
import pytest
import allure

@allure.attach("Screenshot", type="image/png")
def take_screenshot():
    # Code to take a screenshot
    pass

def test_with_screenshot():
    take_screenshot()
    assert True
注意:附件和截图通常会与测试的失败信息一起显示。